


Starlink for Businesses and Multi-Building Properties – Campus & Chain Solutions
In the modern commercial landscape, connectivity isn’t just an amenity—it’s...

T-Mobile SpaceX Starlink Usage: What T-Satellite Actually Lets You Do in 2026
T-Mobile SpaceX Starlink usage has gone from beta curiosity to...
T-Mobile Starlink Business Internet: SuperBroadband Explained
T-Mobile Starlink business internet officially became a real product on...

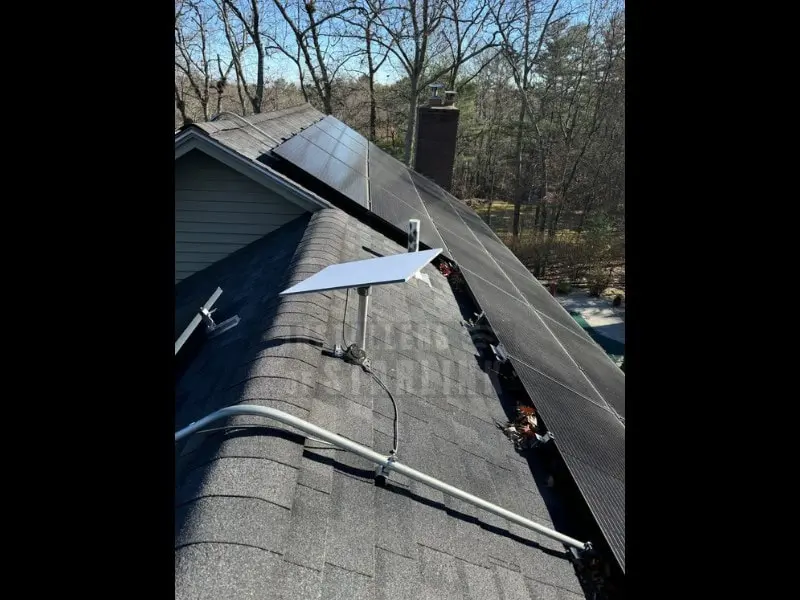
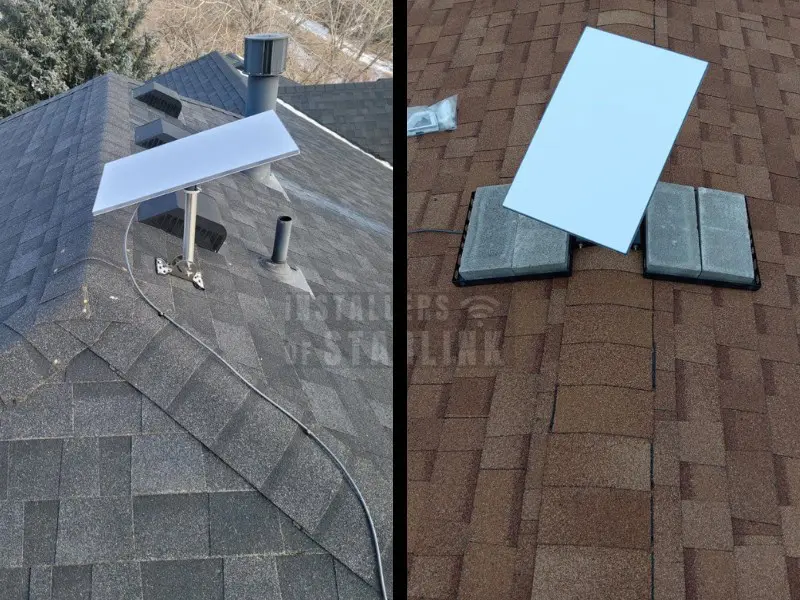
Starlink in Rural Areas – What to Expect and How We Make It Reliable
For decades, living in the country meant making a difficult...